
Summary of Key Steps:
1. Safety First: Lock Out, Tag Out (LOTO) all power.
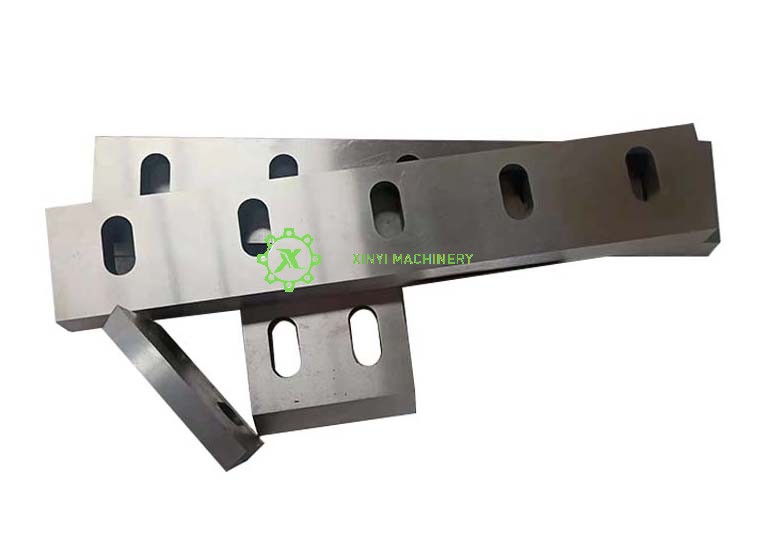
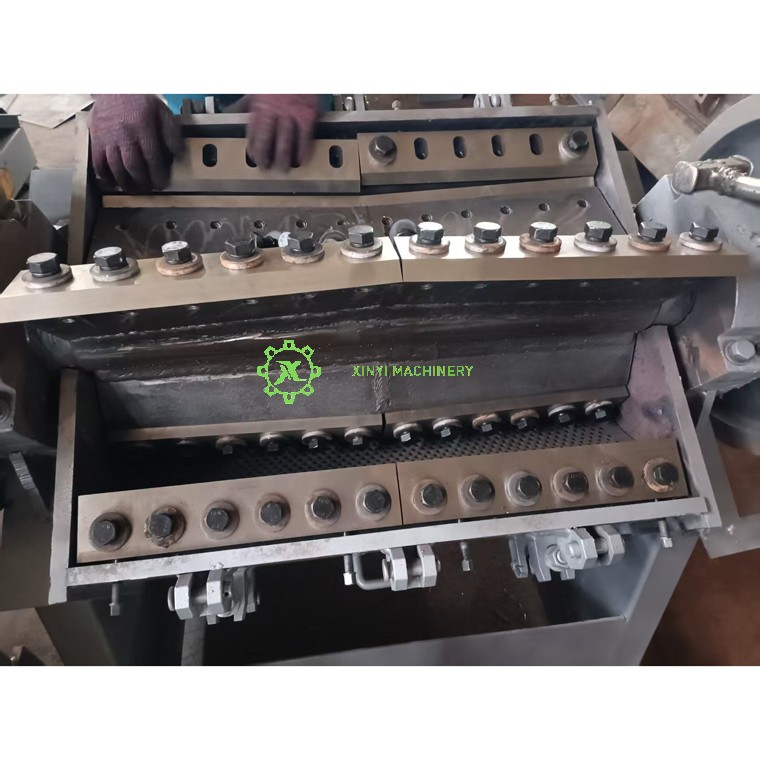
2. Remove Old Blades: Clean the chamber, remove the fixed (bed) knives, then remove the old rotary blades.
3. Install New Rotary Blades: Torque them to the manufacturer's specification.
4. Set the Gap with Paper: This is the crucial step.
5. Reassemble & Test: Listen for unusual noises and check the quality of the regrind.
Detailed Guide: The "Paper Method" for Gap Setting
Phase 1: Safety & Preparation
· LOTO: Disconnect and lock all power sources.
· Cool Down: Let the machine cool completely.
· PPE: Wear cut-resistant gloves and safety glasses.
· Tools: Have your wrenches, a torque wrench, and a few standard-weight pieces of paper (like printer paper or a business card) ready.
Phase 2: Remove the Old Blades
1. Open the crusher chamber and clean it thoroughly.
2. Remove the bolts holding the fixed blades (bed knives). Often, you must remove these to access the rotor blade bolts.
3. Carefully remove the old rotary blades from the rotor. Note their orientation before removal.
Phase 3: Install New Rotary Blades
1. Clean the rotor mounting surface perfectly.
2. Install the new rotary blades. Use new bolts if possible.
3. Crucial: Tighten the bolts gradually in a criss-cross pattern to the specified torque with a torque wrench. This prevents warping.
Phase 4: Set the Gap Using Paper (The Core Step)
This method ensures the blades are close enough without touching.
1. Temporarily Install Fixed Blades: Place the new fixed (bed) knives back into position but do not tighten the bolts fully. Leave them loose enough that you can still tap the knife sideways with a soft mallet.
2. Insert the Paper Shim: Take your piece of paper. Fold it once if you need a larger gap (e.g., for tougher plastics), but for a standard ~0.1mm gap, a single sheet is perfect. Slide the paper between the tip of a rotary blade and the fixed blade.
3. Snug the Blade Against the Paper: While holding the paper in place, gently tap the fixed knife with a soft-faced mallet or a wooden block until it just makes contact with the paper. You should feel a slight drag when pulling the paper.
4. Secure the Fixed Blade: While maintaining this position, partially tighten the fixed blade bolts just enough to hold it in place. Do not fully torque yet.
5. Check the Entire Length: Manually rotate the rotor to check several points along the length of the blades. The paper should slide with a consistent, slight drag. Adjust if necessary.
6. Repeat for All Fixed Blades: Perform steps 2-5 for every fixed blade in the chamber.
7. Final Tightening: Once all gaps are set correctly, fully torque the fixed blade bolts to the manufacturer's specification.
8. Remove the Paper and Final Check: Remove all paper shims. Manually rotate the rotor several full revolutions by hand. Listen and feel for any scraping or contact. If you hear anything, the gap is too small and must be readjusted.
Phase 5: Reassembly and Test
1. Close and secure the crusher chamber.
2. Remove all LOTO devices and restore power.
3. Test Run Empty: Run the machine for a few seconds. Any grinding or loud clicking noise means immediate shutdown and re-checking the gap.
4. Test with Material: Feed a small amount of clean, soft plastic. Inspect the regrind. It should be uniform and free of long strands or large chunks.
Why This Paper Gap Works:
· Clean Cuts: A tight gap shears the plastic cleanly instead of tearing or stretching it, which produces uniform granules and less dust.
· Efficiency: The machine requires less power and generates less heat.
· Blade Life: Prevents premature dulling caused by plastic particles rubbing against the blades instead of being cut.
Note: While the paper method is an excellent field technique, for absolute precision, always refer to your manual and use a feeler gauge for the final verification if possible.


